Step-by-Step by Michael Koerfer aka D_70WN
- Patience!
- 100% pure cotton or linen fabric is required.
- Fleece, inside, wicks away the breath moisture better.
- Scissor, rotary cutter, needles, tailor's chalk, felt pen.
- Sewing machine (not needed if you can well sew by hand).
- First read carefully, then sew!
Step 1: The Unisex pattern, all dimensions in centimeters:
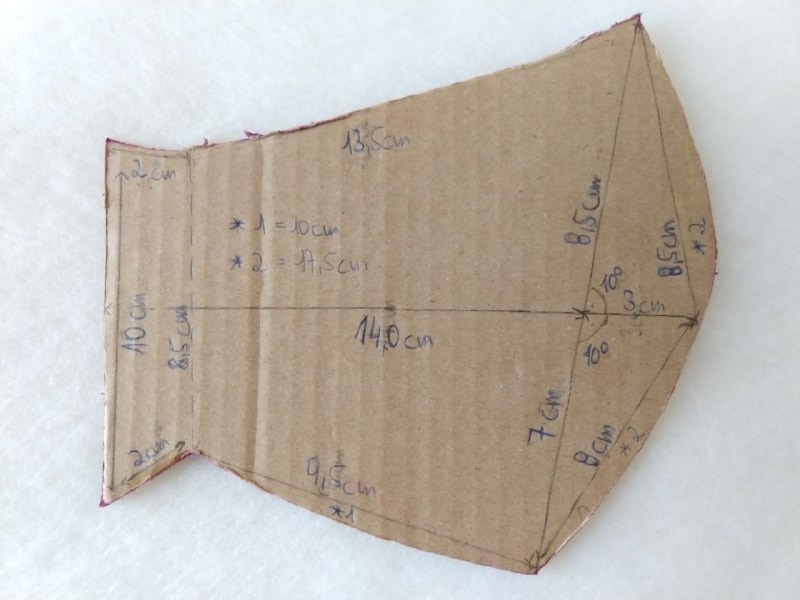
To make the pattern, the vertical line (left) is drawn, from which the
horizontal line starts and from there all other points result. The
dimensions for the curves are indicated with *.
The distance
from the vertical line to the dashed line is 2.5 cm.
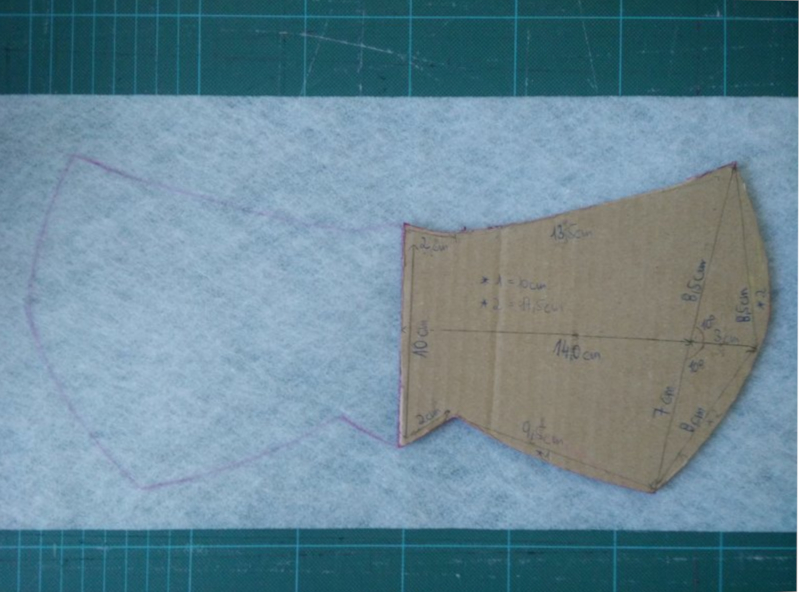
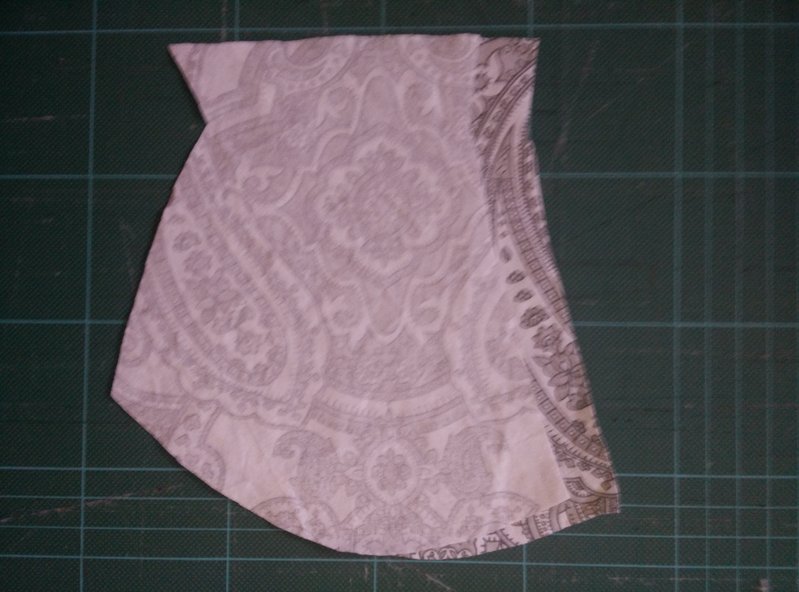
Step 2: Apply the template and mark on the fabric (here fleece):

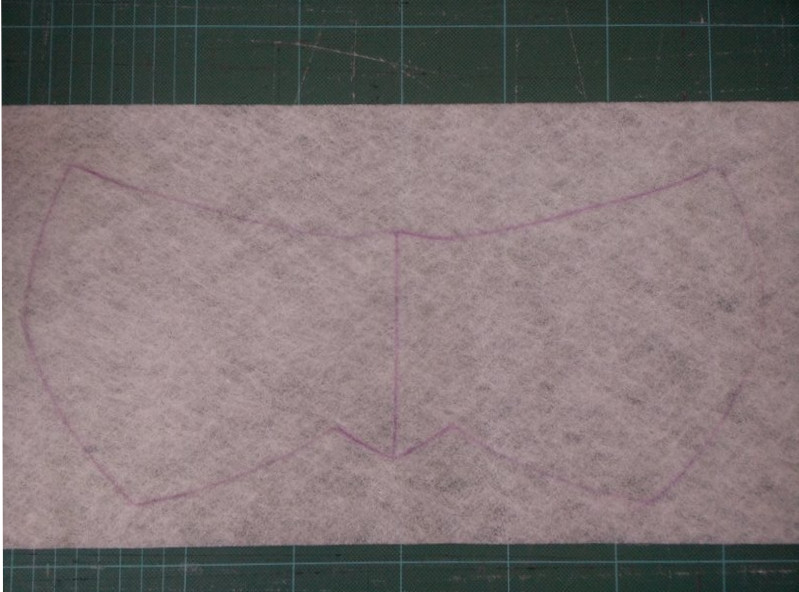
After drawing it should now look like this.
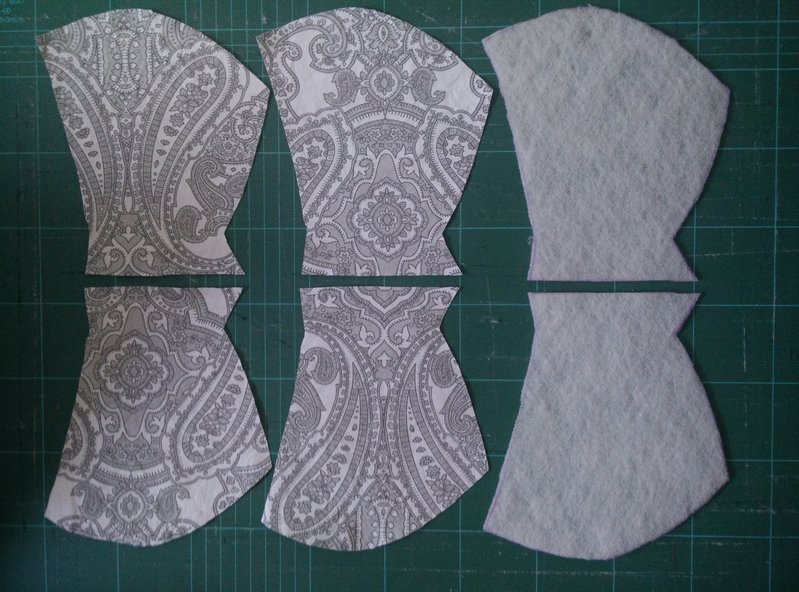
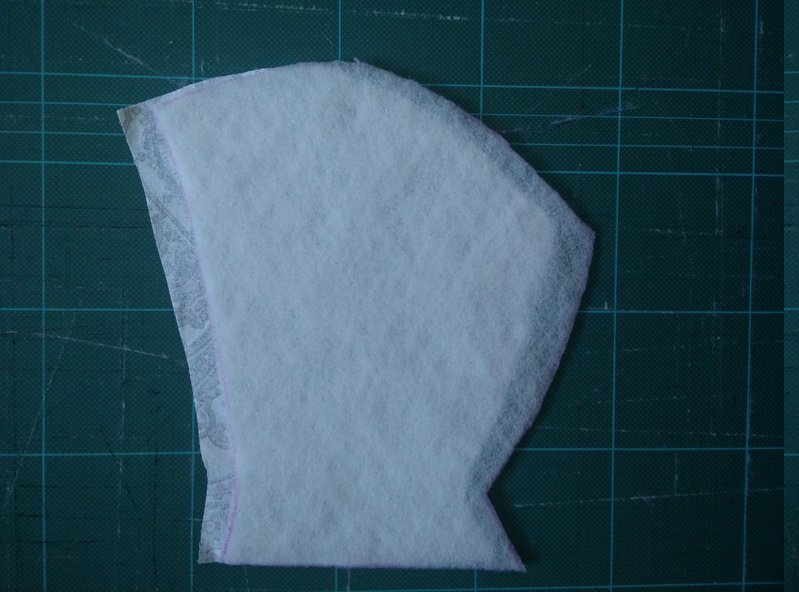
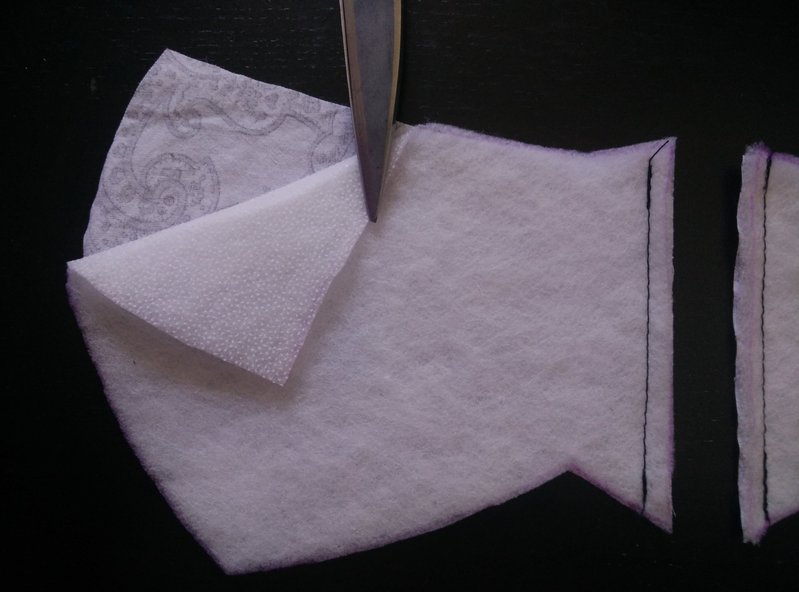
Step 3: Repeat step 2 for the other fabric cuts:
Cut the fabric clean scissor or a rotary cutter on the marked
lines. It should look like this.
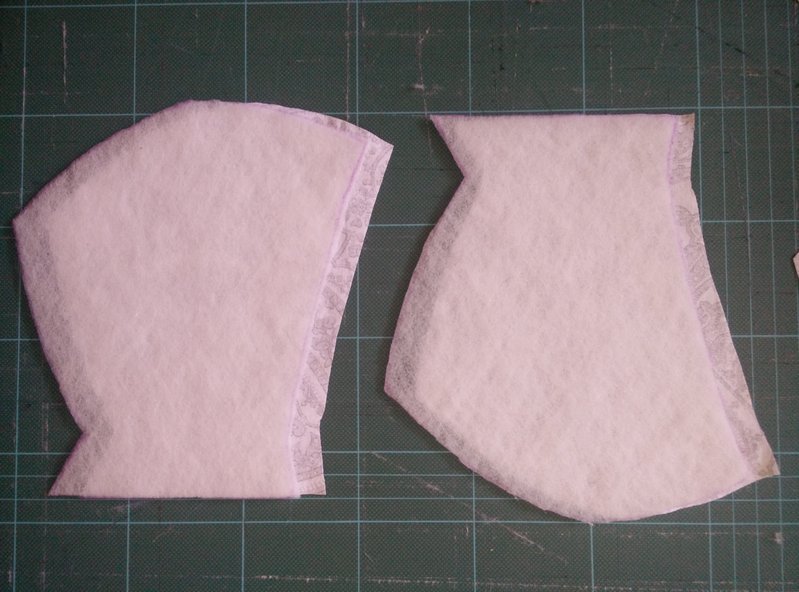
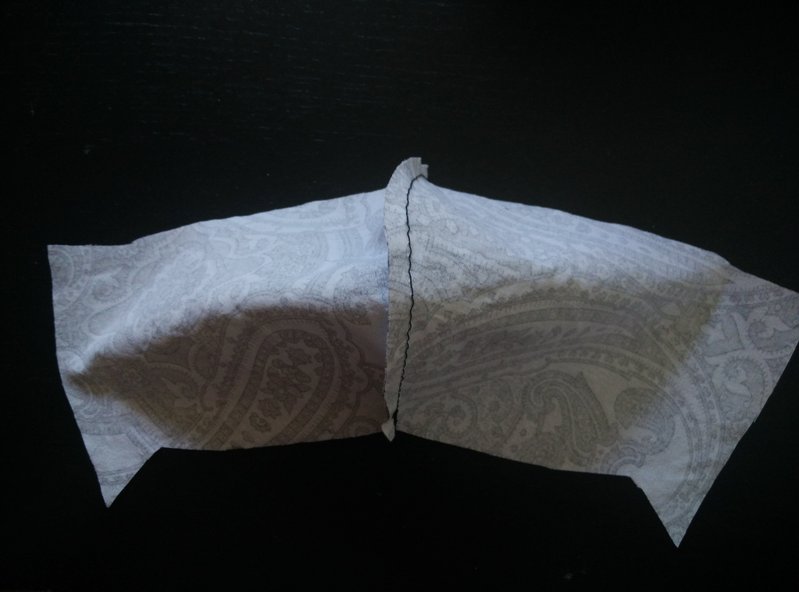
Step 4: Merging the individual layers of fabric:
First layer, once outside to outside.
Second layer, place the inner layer (here fleece) on the inside of the, third layer, fabric.
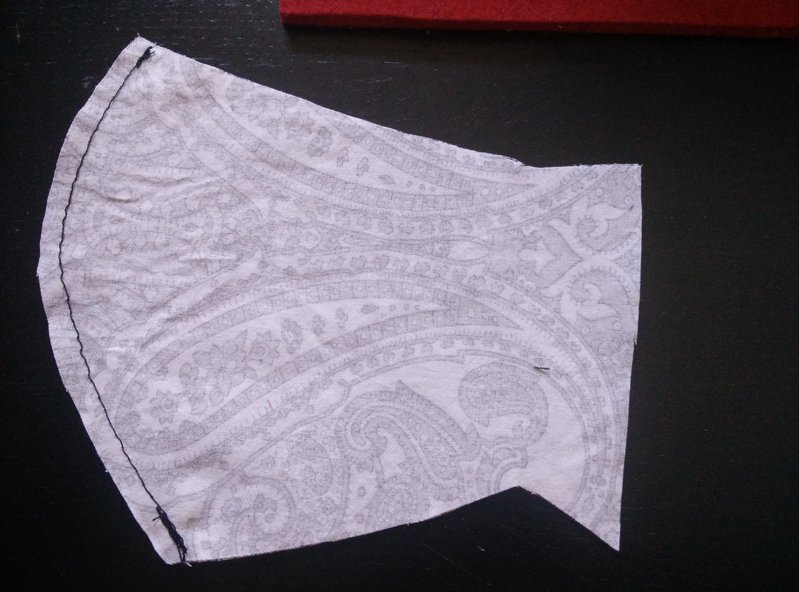
Step 5: Sew fabrics, 0.5 cm from the edge:
First layer
Second layer (fleece) + third layer

Only the round edges are sewn together!
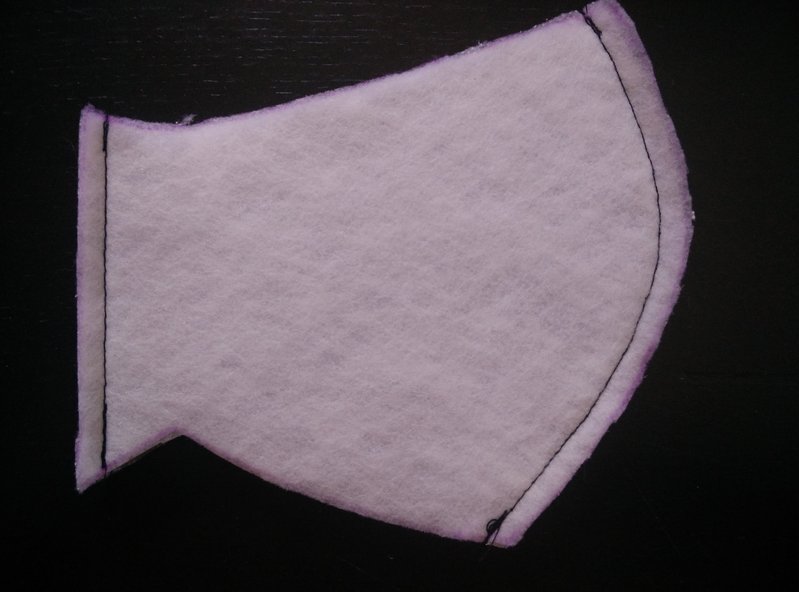
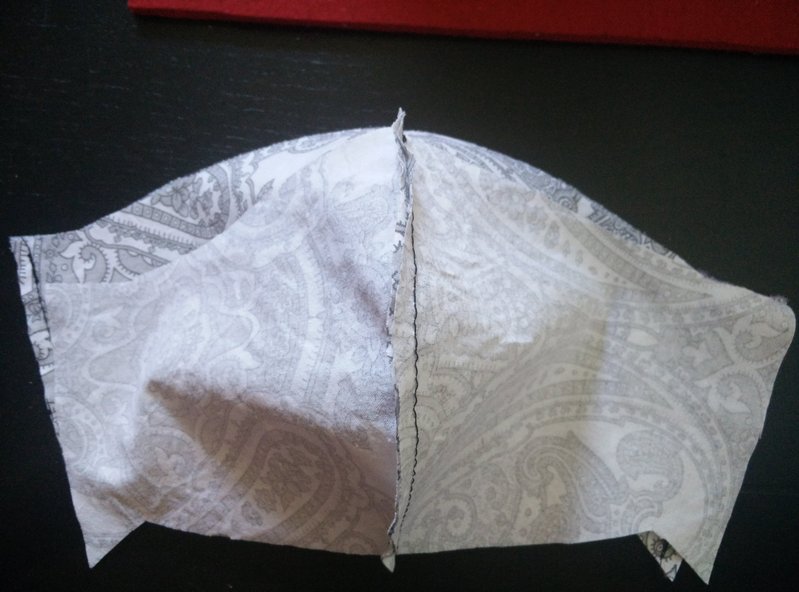
Fold the sewn out once.
Step 6: Fold the mask parts together for sewing
The two inner sides of the mask, where the seam is, must be on the
outside.
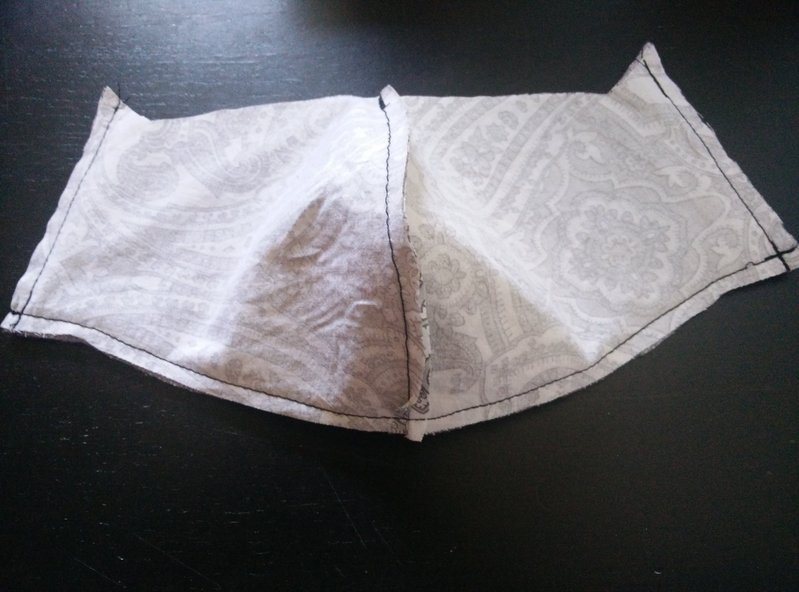
Sew the two parts of the mask together on the sides.

Then one of the two long sides is sewn together.
On the other long side, two markings are drawn, from the center 3 cm to the right and left.
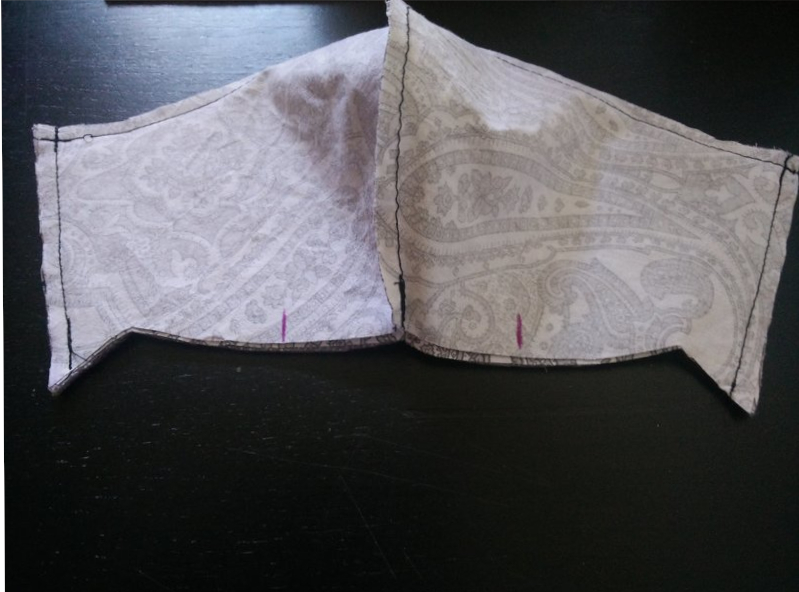
Then the mask is sewn from the sides, only up to the markings!
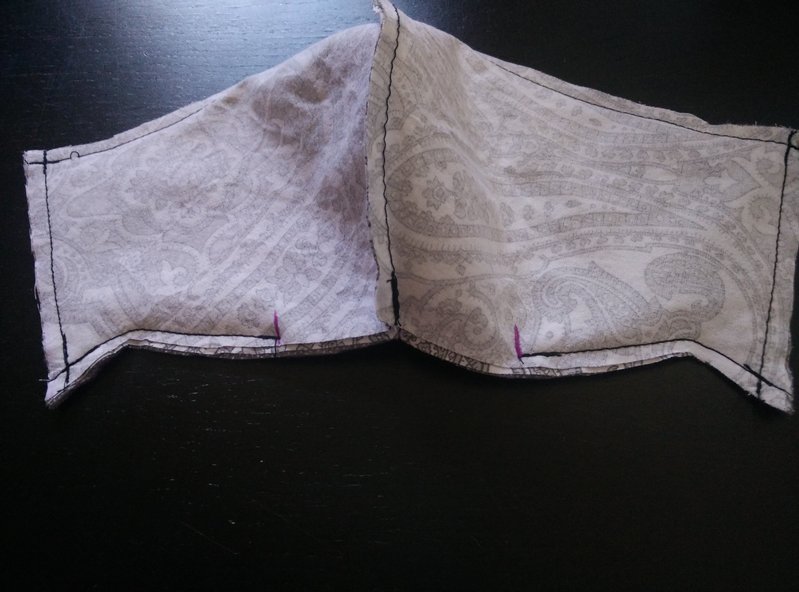
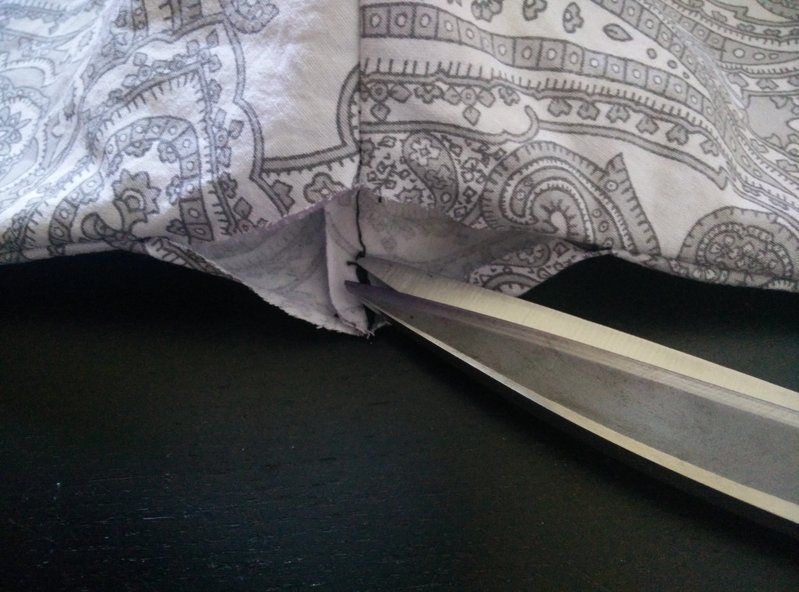
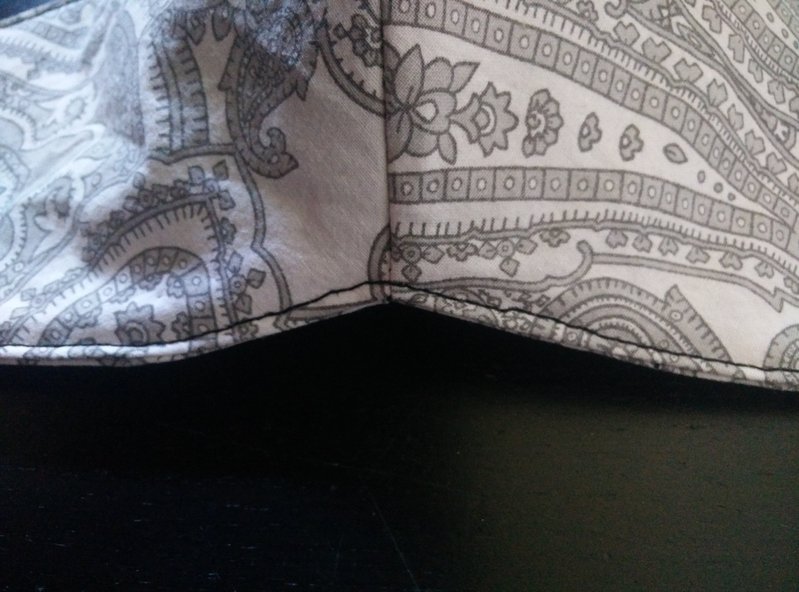
On the sides, the corners are cut diagonally just before the seams. DON‘T cut the crossed seams!
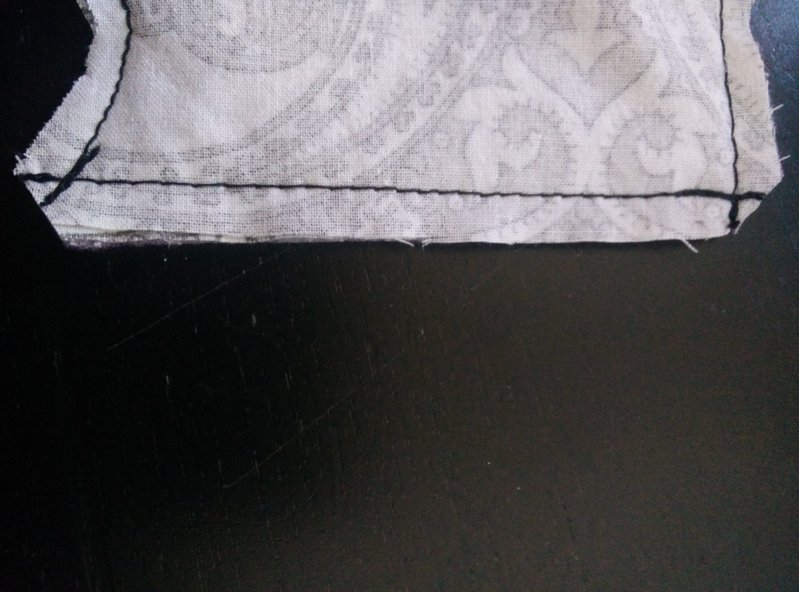
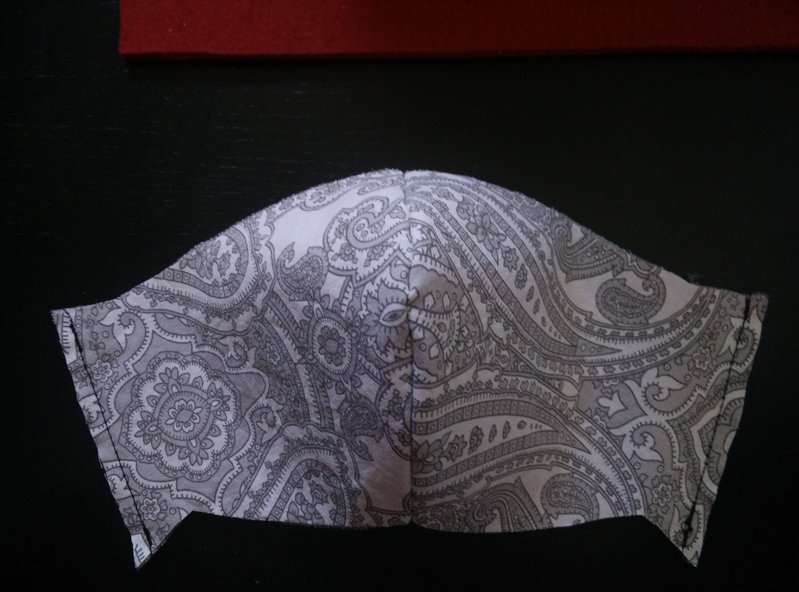
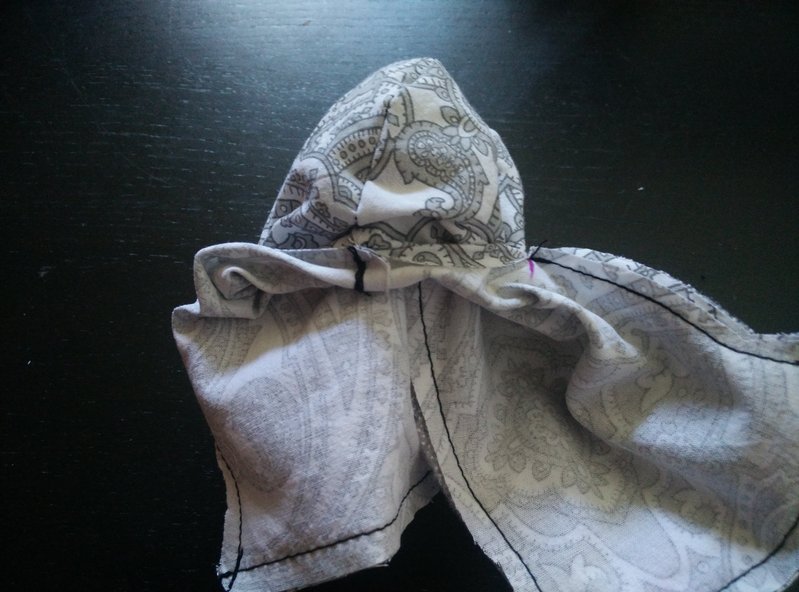
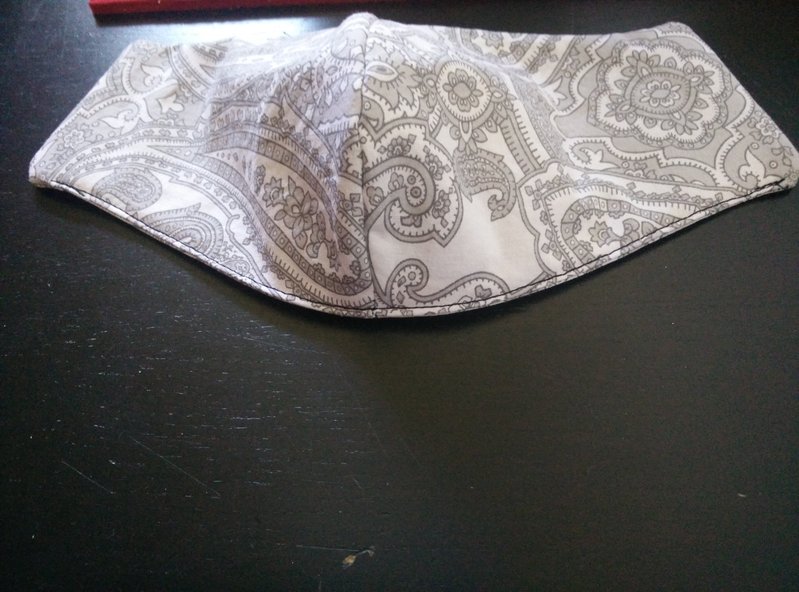
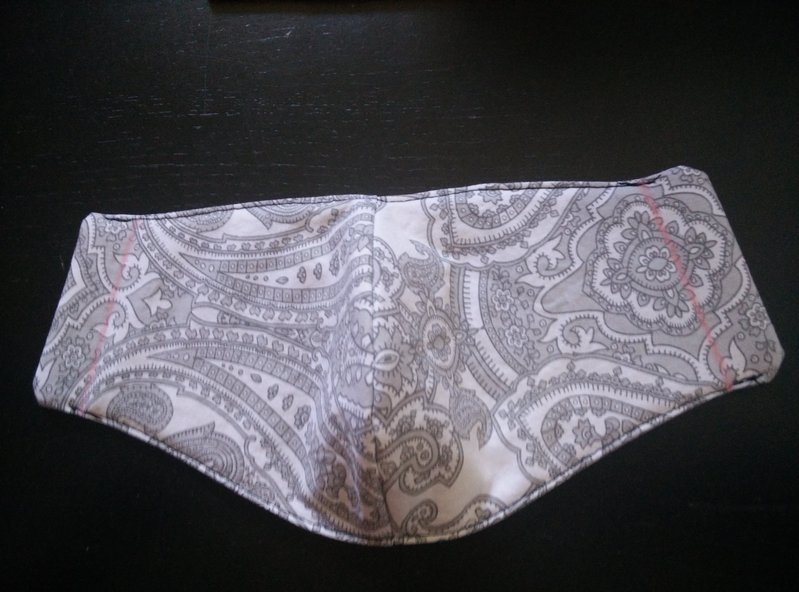
Step 7: Forming the mask:
Through the opening between the markings, the inside is carefully pulled outwards
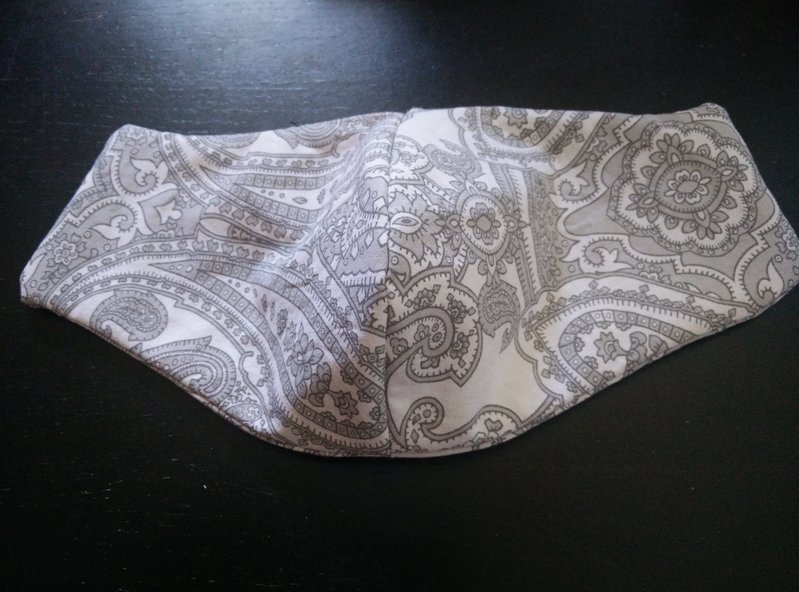
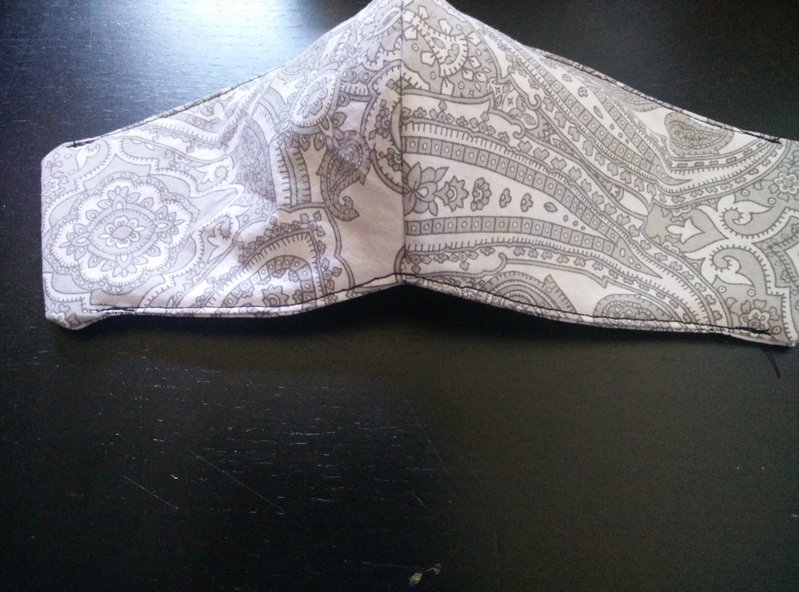
Smooth everything out nicely and topstitch cleanly on the long side without the opening, distance 0.1 cm – 0.3 cm to the edge.

Sew the other long side and close the opening.
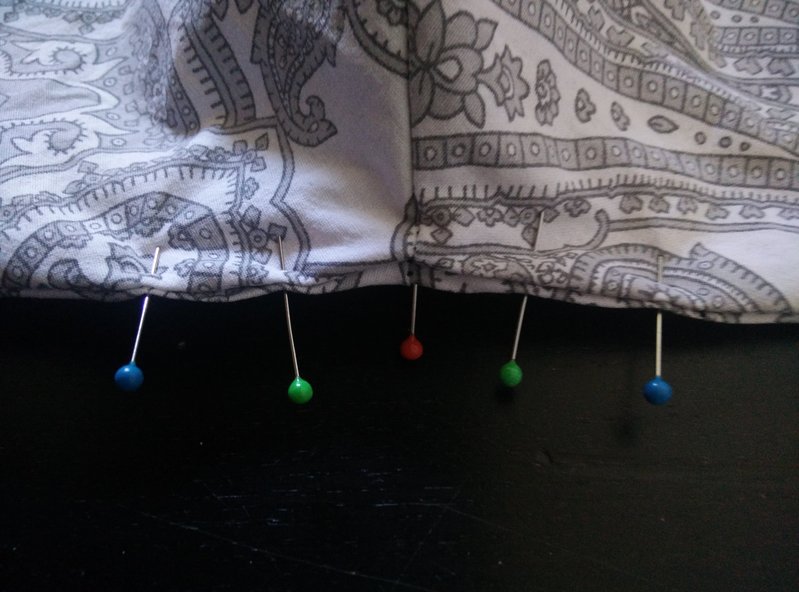
Fold the fabrics 0.5 cm inwards at the opening and fix it with the needles
Smooth everything out nicely and topstitch cleanly on the long side without the opening, distance 0.1 cm – 0.3 cm to the edge.
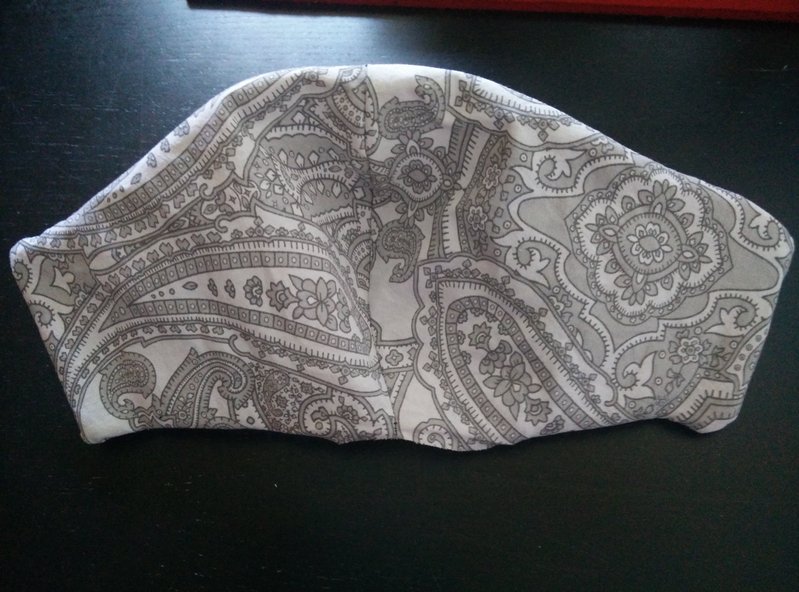
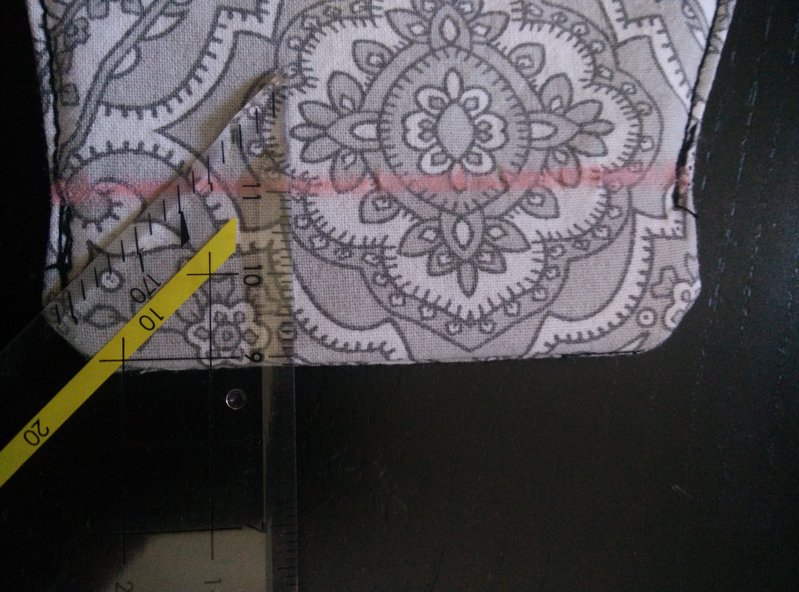
Step 8: Finish the mask:
Create the tunnel for rubber band, paracord, shoelaces or whatever is
currently available.
Measure and mark 2 cm at both ends of the mask
Fold the fabric inwards at the markings and sew, the tunnels for the ribbons are ready.
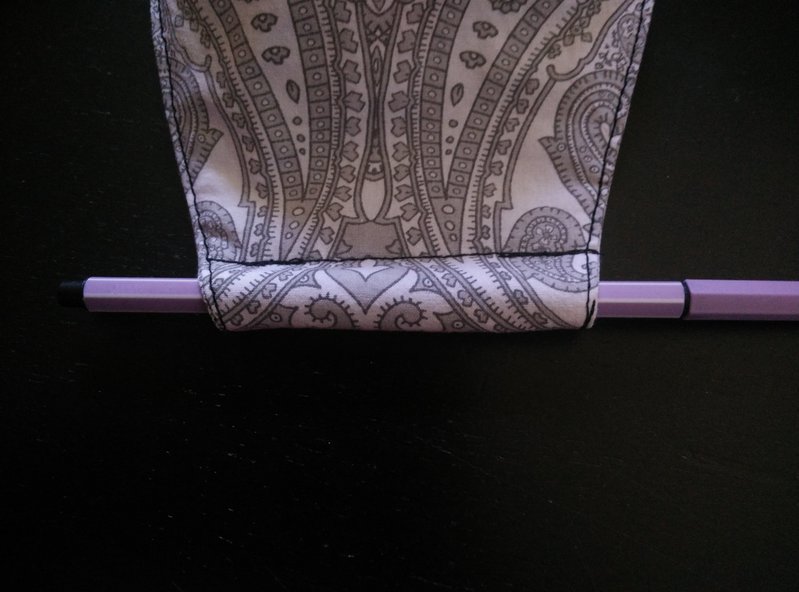

Here is an example of how to wear the mask. Either the straps behind the ears, but in the long run it is rather uncomfortable, so it is better to use a large loop than you can wear the mask comfortably like a surgical mask


Many success, enjoy and a lot of fun. Keep in mind sewing is like hacking but a little diffrent and sharing is caring.
